It does not matter if you are new to selling online or a seasoned veteran, you will eventually run across a problem that is surprisingly easy to solve. This is especially true when it comes to photography.
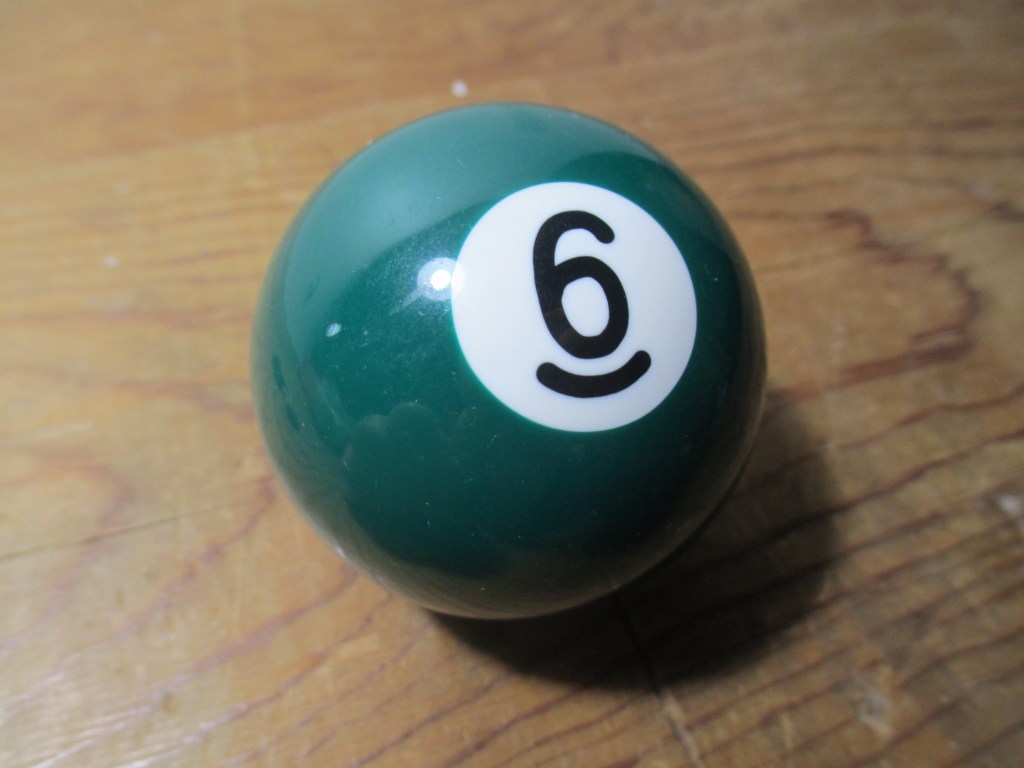
How in the world do I take photographs of an item that is round? There are no flat spots to keep the item from rolling around. I mean, EVERY time you set the item down, it starts to roll away and will not stop.
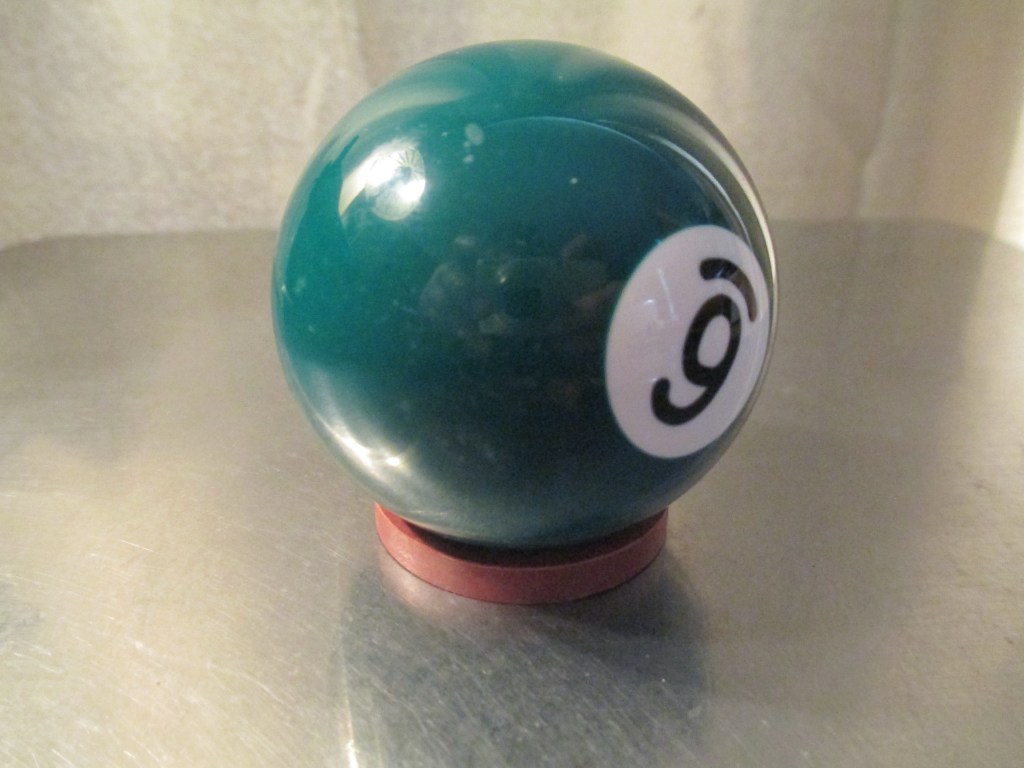
Yeah, this one took me a while to figure this one out. As you can see with the gear shifter knob shown above, it is completely round. It dawned on me that there is a washer for that!
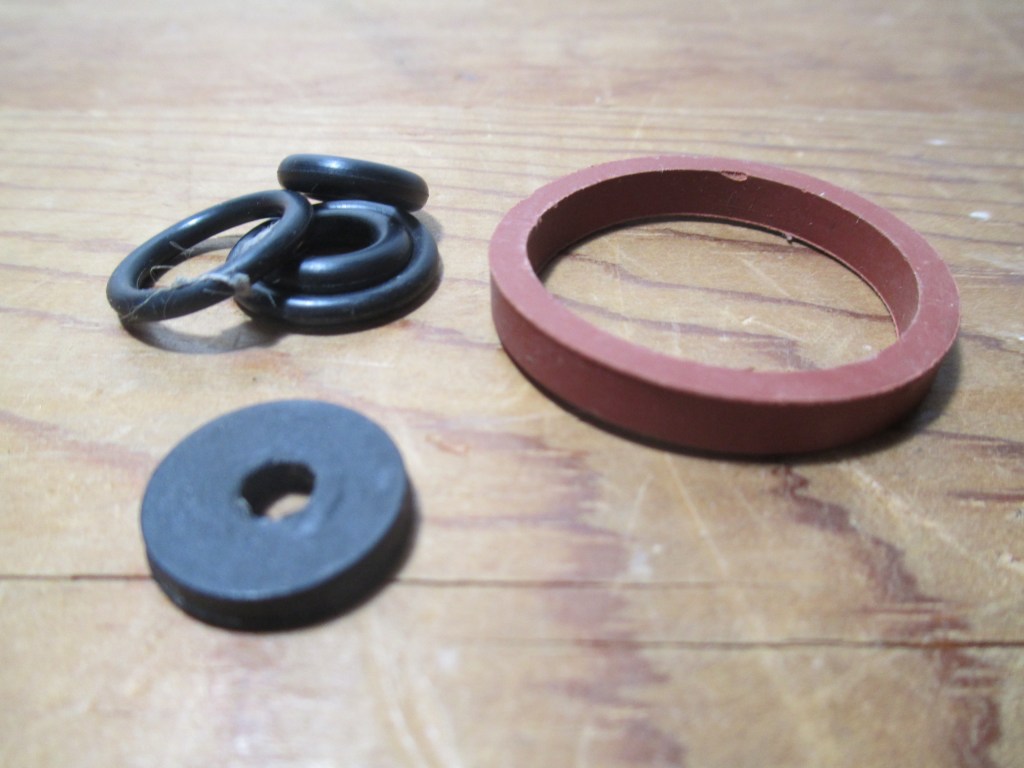
I do repairs around the house, and I always have had a surplus of all different types of washers on hand. So, I realized that the design of a washer is perfect for taking photos of round items—flat on two sides to help elevate your item to keep it from rolling around on you.

Do you know what the best thing is about using a washer? They are not that expensive, you usually buy them in bulk and are a couple of cents each.
This is just one tip that you can do when it comes to photography. With there being a lot of tips and tricks out there to taking quality photos, what have you heard of?